GUILD DETAIL
THIS CLASSIC, solid oak cupboard is part of a collection of pieces that used to make out my husband's law firm furniture...which got a lick of (French) paint and a dab of gold guilding. I fiished it off with the most darling, glass knobs, complete with matching tassels!
FRENCH STYLE BUFFET

TURNING A NEW silver LEAF
 |
| Please click here to purchase |
FRENCH STYLE BUFFET

If furniture could talk, this one would have a looong saga about her life! It is a solid piece with beautifully carved, French scrolls and other details to boot. My husband's family, who hail from the Free State area of South Africa gave this to him, and of course the moment I got married to him, I had to put my new wife's stamp on it! I basically gave it cream/grey finish and guilded the beautiful scrolls on the doosr. 16 years later, it has tarnished naturally, and still holds many a family secret in it's ornate drawers!
TURNING A NEW silver LEAF
 |
Beautiful French inspired Side Table
|
This round side table was bought at our local thrift store in Carmel, called the Yellow Brick Road. They had hundreds of them to get rid of, as a local hotel in town got a face lift and in the process donated these to the thrift.
 |
Before
|
Man, ugly could not describe the paint finish, which must have been done in the 80's! And...when I started sanding the pasty effect off, I thought I would never get to the bottom of it!
 |
Before detail
|
As you might have noticed by now, I love silver leaf and the sophisticated touch a lends to a simple, yet elegant piece of furniture.
 |
After, silver leaf detail
|
I gave the wood a base coat in a soft French Blue-grey-green, you know the one everyone wants to mix, which I created using a multitude of samples, so not even I know how I got to this!!!
|
L O V E !
|
One of the easiest, yet most dramatic furniture re-do's I have done, even if I may say so myself!
Hope you will get some silver leafing a try,
Until next week,
x o x

ELEGANT TAKE ON CHRISTMAS

This is my take on Christmas - definitely less is more!
I transformed this very ordinary chest of drawers by just adding more of the same colours, and hung the beautiful handmade wreath over the mirror.

To make the Noël sign, I simply painted a beautiful silver plated dish with chalkboard paint.

Let it dry and gave it a second coat.

And appropriately wrote Noël with chalk on it.

I like the simplicity of the look, all in two colours, no frills and no bling.

From the old faded mirror to the French style chest of drawers, all in all this setting makes for an understated yet special event!
love,

VINTAGE CHRISTMAS BALLS back in VOGUE!

Seeing that even the wealthy among us buy their decorations from the thrift store this year, I thought it a good idea to share my what I'll call my "eco friendly" take on things this year!
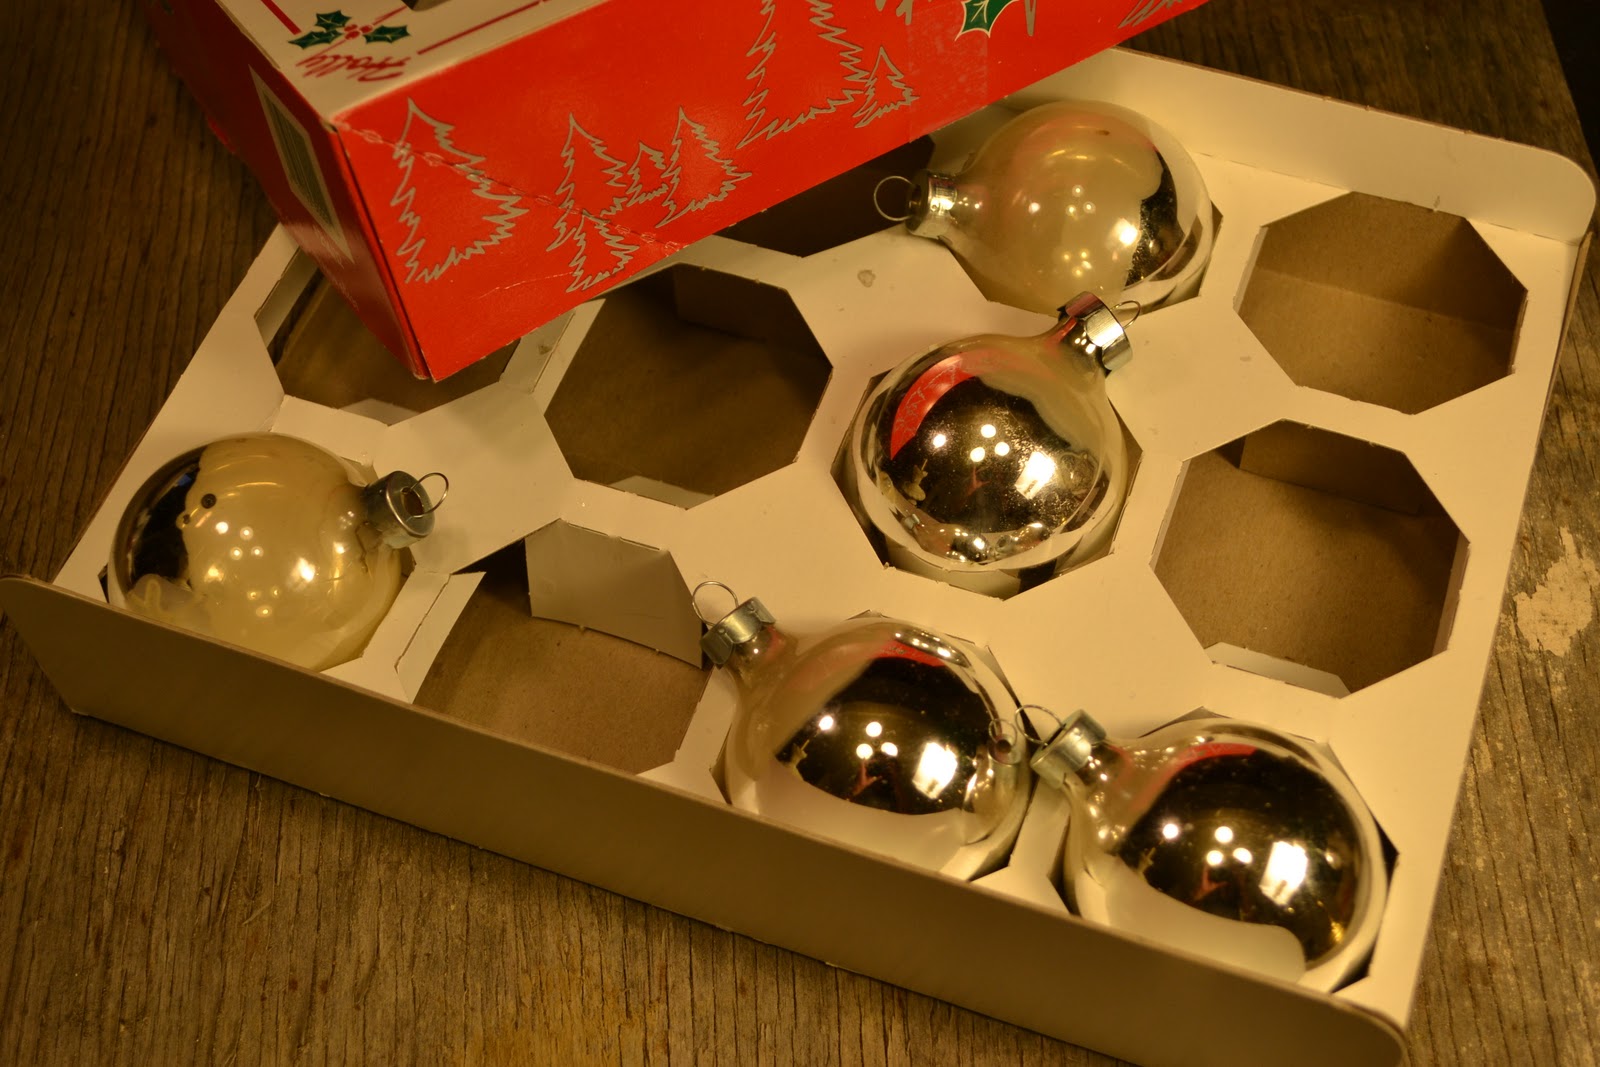
So, I set off to The Yellow Brick Road, Carmel's local thrift store and bought a set of very old, faded Christmas balls which, in these financially tight times we all like to rather refer to terms like "vintage"Christmas balls.

So Vintage it is, that half of the silver coating has come off most of them but, this is what got me going chasing straight to my studio, as I knew it would make for beautifully unique decorations!

So, I whipped out the glue and the fancy new glitter I bought from a quant little French store, Tancredi and Morgan, just down the road from me and got going! I sprinkled glitter over the wet glue I applied in different patterns and let dry.

And, by just adding two shades and textures of the same French grey ribbon we have a beautiful vintage Christmas ball. lovingly handmade and which is right back IN VOGUE!

NEW PURPOSE FOR CHALKBOARD!

Here is a new take on the old black and white chalkboard with groceries lists and kid's after school activities scribbled on!

It all started with this mostly forgotten part of my house that I have to 'do up'. The only cute part about this couch is......

.....Pebbles!

So, I whipped out the chalk, framed chalkboard and set off to create a new take on things.
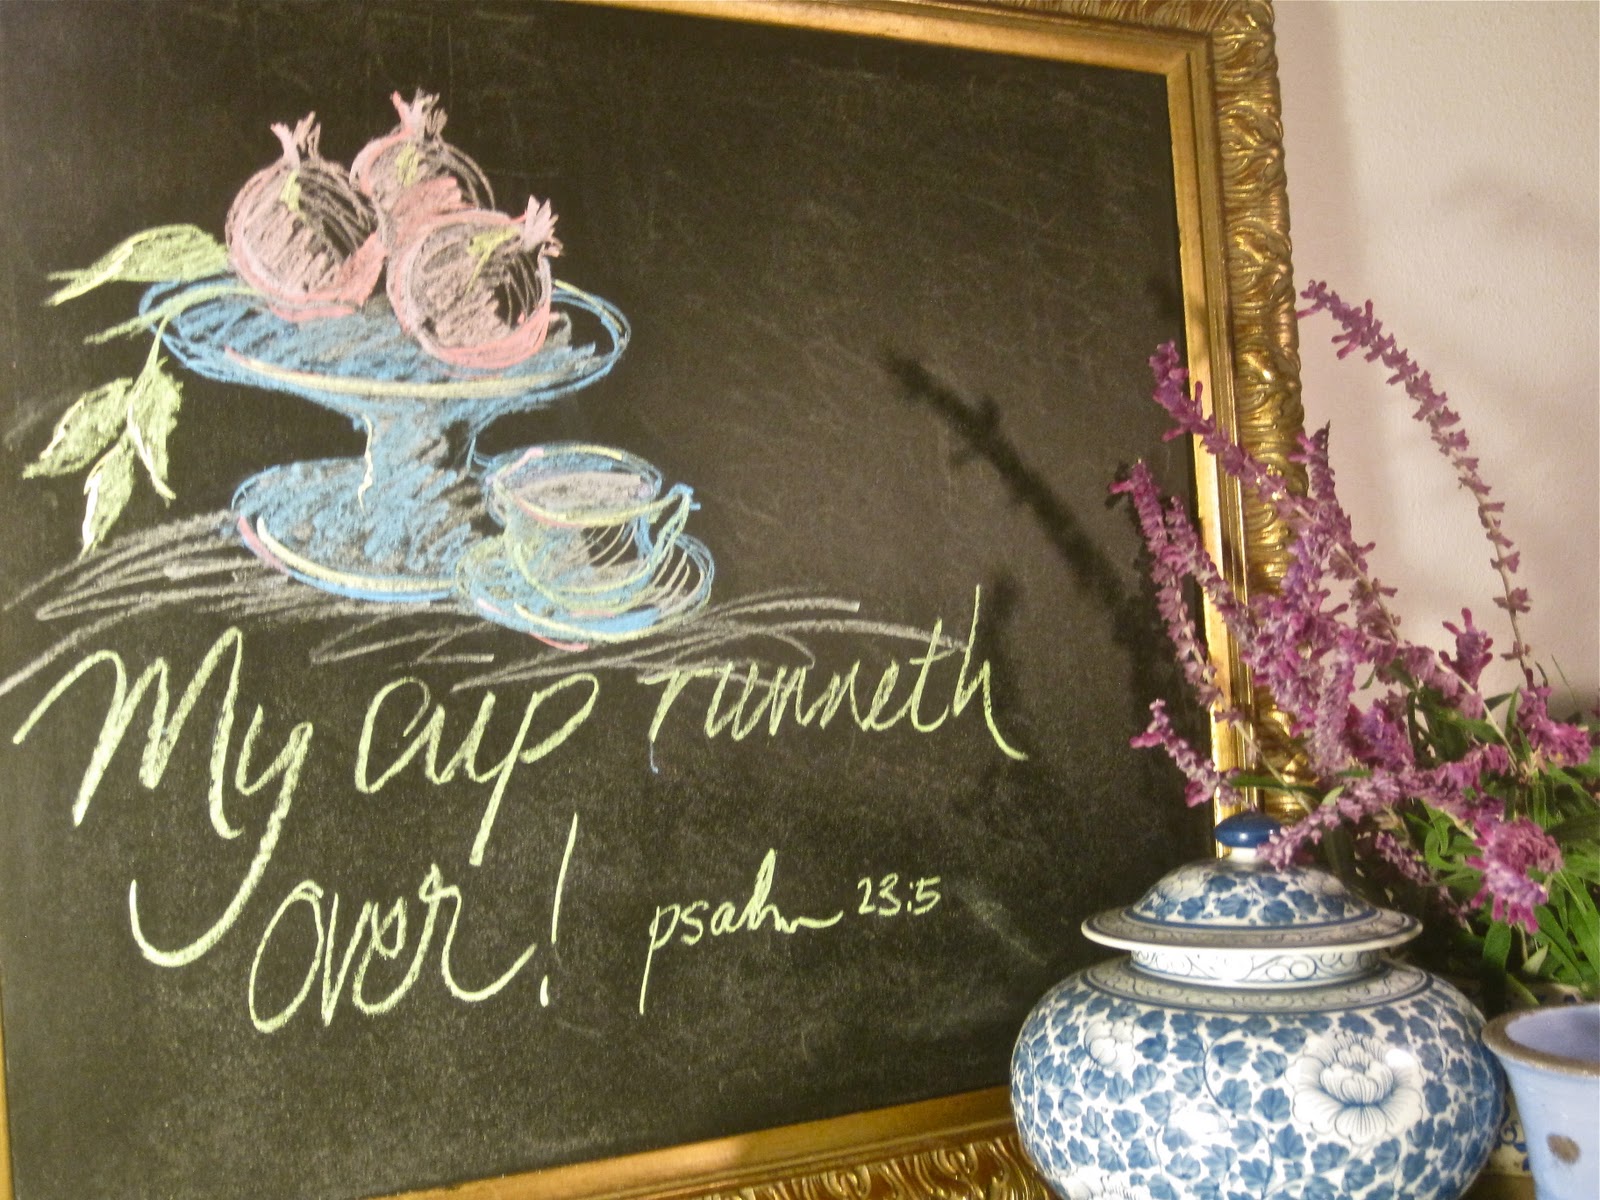
The thinking goes, that instead of hanging yet another painting in the space, why not draw and write something inspirational every few days????

And here you go, even Pebbles couldn't make this old couch look so lovely!
o x o

AN OLD FRAME new!

Here is a quaint little frame I redid for my daughter's French inspired room.
I bought a few old, not so gorgeous frames from a yard sale and had them sit in the garage until I found some inspiration for them!

So, after the frame got a good coat of white spray paint, I popped a photo in and....


PLEASE be so kind and vote for my blog at BLOG GUIDE BOOK, Top Blog 2011 I would really appreciate it as my blog, ATELIER CECILIA ROSSLEE, has made it to the second round, only one of 19!!
All my love,
All my love,

Faux BURLAP & GRAIN SACK PILLOW SLIPS
 |
| Chaise with faux grain sack cushions |
 |
| Burlap stripes |
So, I whipped out my sewing machine, paint brushes and set off to my local Beverly's to buy a few pieces of fabric, and being the thrifty that I am, I only bought whatever was on sale (and only 3/4 yard of each...). I started off with this Burlap, also known as hessian in the rest of the world. Simply mask off a few stripes and paint with red acrylic or fabric paint.

Secondly, I dived over to the The Graphics Fairy (who can survive without her???) and got meself a design that I thought might look nice with the hand painted wreath.

Next, I thought of spreading the Word, even if it might only by in my own house...and put together this Joshua 24:15 pillow slip...'as for me and my house, we will serve the Lord...'
Each pillow slip comes with a nicely sewn ATELIER Cecilia Rosslee tag and can be bought from my shop
 |
| Pebbles on burlap |
Of course, when my Yorkie saw this genuine burlap pillow, she just couldn't resist! And nor could I just had to share!
Thank you for stopping by and reading my blog!
Love,
c e c i l i a

HOW TO ADD FRENCH FLAIR TO A CHAIR!

So here is a classic example of L E S S is M O R E !!!

I got this chair some 3 years back and had it sit in my daughter's room, doubling up as a laundry carrier!!!

I first of all removed the seat, which I must say was S T A P L ED to the frame of the chair and then had to rip out and off all previous signs of upholstery etc, but at the end, due to laziness, I decided to simply cover what there was! (makes more eco sense too, I told myself)

As the staple gun was at my husband's office, and I did not feel like waiting and eternity for him to bring it home.....I got busy with a hammer and nails, don't panic, I know these are not proper tacking pins, but I figured no one will ever look here!

Simply cut off excess fabric

I replaced the seat back in position so as to make sure I get a true centre and made pencil markings where I wanted the French grain sack inspired stripes to go!

I used painters tape, not masking tape....as we all know how that can bleed!!!! I started from the inside out but I guess you can do it which ever way pleases you.

So I mixed some French Ultra Marine and something else, can't see what really, with some white to paint the stripes. Got so carried away I forgot to take a pic of the painting step!

Nevertheless, here is the end result. I decided to leave the paint finish as I found it as it had a true, honest patina. All I painted was the basket weave so as to form a nice unity and not detract from my super simple but über fabulous French stripes!
Was so taken by the beautiful blue, I decided to make a matching cushion, which can be purchased from my shop .
Hope you enjoyed watching this very simply, yet sophisticated transformation!
XXX
c e c i l i a
FRENCH CHEESE BOARD - Lazy Susan

In need of a cheese board, I set out to create something French, something different and something no one else has!!!

Since visiting the Cape Winelands, South Africa, in December, where I saw beautiful oak cheeseboards made of reclaimed wine vats, I have been toying with the idea of converting a lazy susan to a more sophisticated status than spinning ketchup and other condiments around.

I found this one, complete with a nice rubberized foot to prevent slipping.

Since it had a light, clear varnish finish, I had to give it a light sanding. Love these plastic sanding blocks as you can use it over and over, washing it after each use!

For a nice rustic look, I decided to hand paint a few French fromage names on the board after which I stained the wood with a darkish stain to make it look a bit more like oak.

Close up of the letter work. Love how the brush work came out, something old worldly about it.

And there you go, a lovely, unique cheese board!
oxo
c e c i l i a
BEAUTIFUL HEAD BOARD MAKE OVER!

A very lovely shabby chic-y make over!

...BEFORE...I bought this old, but not antique, headboard form our local thrift store for $15. With a lick of paint and a bit of silver leaf I transformed it into what French flair is all about!

Detail of silver leaf which gives a very ordinary headboard a real face lift with a sophisticated edge.

.....AFTER.....I used a soft French blue grey and silver leafed the ornate details of the bed. Truly transformed! If I may say so myself...
 |
| AFTER!!! |
A lovely chest of drawers with a subtle, elegant finish started out as a not so subtle elegant peace of furniture!!!
 |
| BEFORE!!! |
Okay, so you might think this is a big joke...complete with traffic light like door knobs and all! But the moment I lay eyes on this $5 ...'beauty'... , at our local thrift store, I knew what I had to do to make her look like a classic star!
 |
| The not so nice close up |
Close up detail of the badly damaged top surface. I decided to give the entire dresser a few coats of paint and to paint a busy pattern on the top in order to make a feature of the uneven surface!
 |
| First of two coats of Satin Finish interior paint |
After giving the wood a very (as I am not into hard labour!) light sanding with the green side of a scrubbing sponge, just to give it some grip for the paint to take, I gave it two coats of satin finish interior paint. It was a can of old paint I had, called Birch something or the other to which I added some black, blue and light green for a nice Frenchy blue-grey colour.
 |
| Free hand scroll work |
A close up of the scroll paint work. I simply added some blue, black and light green to a little bit of the base coat. With the use of a smaller brush, I hand painted the scrolls to create a toile like effect. This disguises the uneven surface!
 |
| Detail of new door knob and paint finish |
This must have been the biggest difference in a furniture redo I have ever done! Love how it has turned out, now I need to figure out what to do with those original traffic light door handles....

And again, a peak at before......

.....and the after!
CHALKBOARD TOP BEDSIDE TABLE
C |
| CHALKBOARD TOP BEDSIDE TABLE |
I transformed a very ugly duckling into a beautiful swan with a dual purpose of a chalkboard top as well as a chest of drawers to keep all my 13 year old's paraphernalia nice and neatly.
 |
| BEFORE! |
The before bedside table, exactly where it stood for weeks. I bought it from our local thrift store for $10. A nice (?) solid piece of furniture which I am sure was very beautiful in it's hey day. I decided to give it a lovely French blue grey finish with silver leafed handles. My 13 year old daughter had the idea of painting the top with school board chalk paint so that she could write notes and reminders to herself. And what Sita wants, Sita gets, so here it how I did it......
 |
| Silver leaf |
I applied silver leaf to the handles. This is much easier than you might think. All you need is size (special glue for gold/silver leaf) silver leaf and a soft brush. After applying the size, let it dry until tacky and then simply apply silver leaf. Finish by brushing off all loose pieces of silver.
 |
| Silver leaf door handles |
A close up of the silver leaf detail. This is an updated French look, more sophisticated and subtle than leaving it dark.
 Before the chalkboard top can be used as well..... a chalkboard, it needs to be primed by scrubbing the side of a piece of chalk all over the board. After a good wipe off the board is ready for use! |
 |
| Chalkboard top for notes and reminders! |
Now she can write reminders for herself and fall asleep without any worries!
 |
| French style flair! |
THE FINSHED PRODUCT! A beautiful bedside cupboard to go with my daughter's French style bedroom.
FRENCH TOILE PLACE MATS

FRENCH inspired place mats from toile, instantly create a clean, simple European ambiance.

So I bought 2 pieces of toile fabric from our local goodwill for $3.25! I guess it was meant to be curtains, at it was hemmed up and everything. As I have been looking for styling place mats, but not able to find anything nice AND in my price range, the obvious next step would be to make my own from fabulous toile!!! At a fabulous GW price!!!

To get the right size, simply cut 1/2" around an existing placemat you have. This way you are sure of the proper size. Hem all around with matching colored cotton, and that is it!

THE FINISHED PROJECT!

A close-up of the chalk board, which is a piece of hard board, I got our local hardware to cut to size, and then I simply spray painted with chalkboard paint.

BEFORE- So this was a really bad spot in my kitchen, sort of where I feed the cats and keep the recycling bin, and, and, and...

AFTER - Everything in this picture I had in my house, plus bought at either thrift stores, goodwill or yard sales, okay, plus craigslist! What was at first a dead, ugly space in my kitchen is now my little desk area where I can sit and have a quick cup of coffee
PAINTING OF LIVING ROOM - FOR LIVING ROOM

This space needed something on the wall. It was, as usual, the night before vip friends came to dinner for the first time, and I had to make do with my daughter as the only model I could find at the drop of a hat! She posed on the couch, as I thought it might be nice to incorporate the furniture of the room that will house the actual painting.

I stuck the painting, sopping wet, into the a frame, 2 hours before my guests arrived, and voila!

This is a close-up of the painting which I did of my daughter, Sita. Notice the couch she sits on is the one to the left of the actual painting. As well as the mirror on the wall! This makes for a very harmonious ambiance in a living room.
NEW LOOK FOR DESK

This little table had an old green finnish before I got hold of it with my paint brush. Notice the drawer handle that got a silver leaf treatment , which gives it a modern French appeal.
RENOVATION OF OLD DINING ROOM TABLE

...BEFORE... So I bought this table and chairs on Craigslist, late one night, only to notice all the scratches and coffee stains and and and... the next morning, long after the deal was done!

...AFTER...I decided to restore the table top to its former glory by sanding it and applying a wood restorer, finishing it off with a little bee's wax. I love how the warm wood plays nicely off against the cool faded French blue.